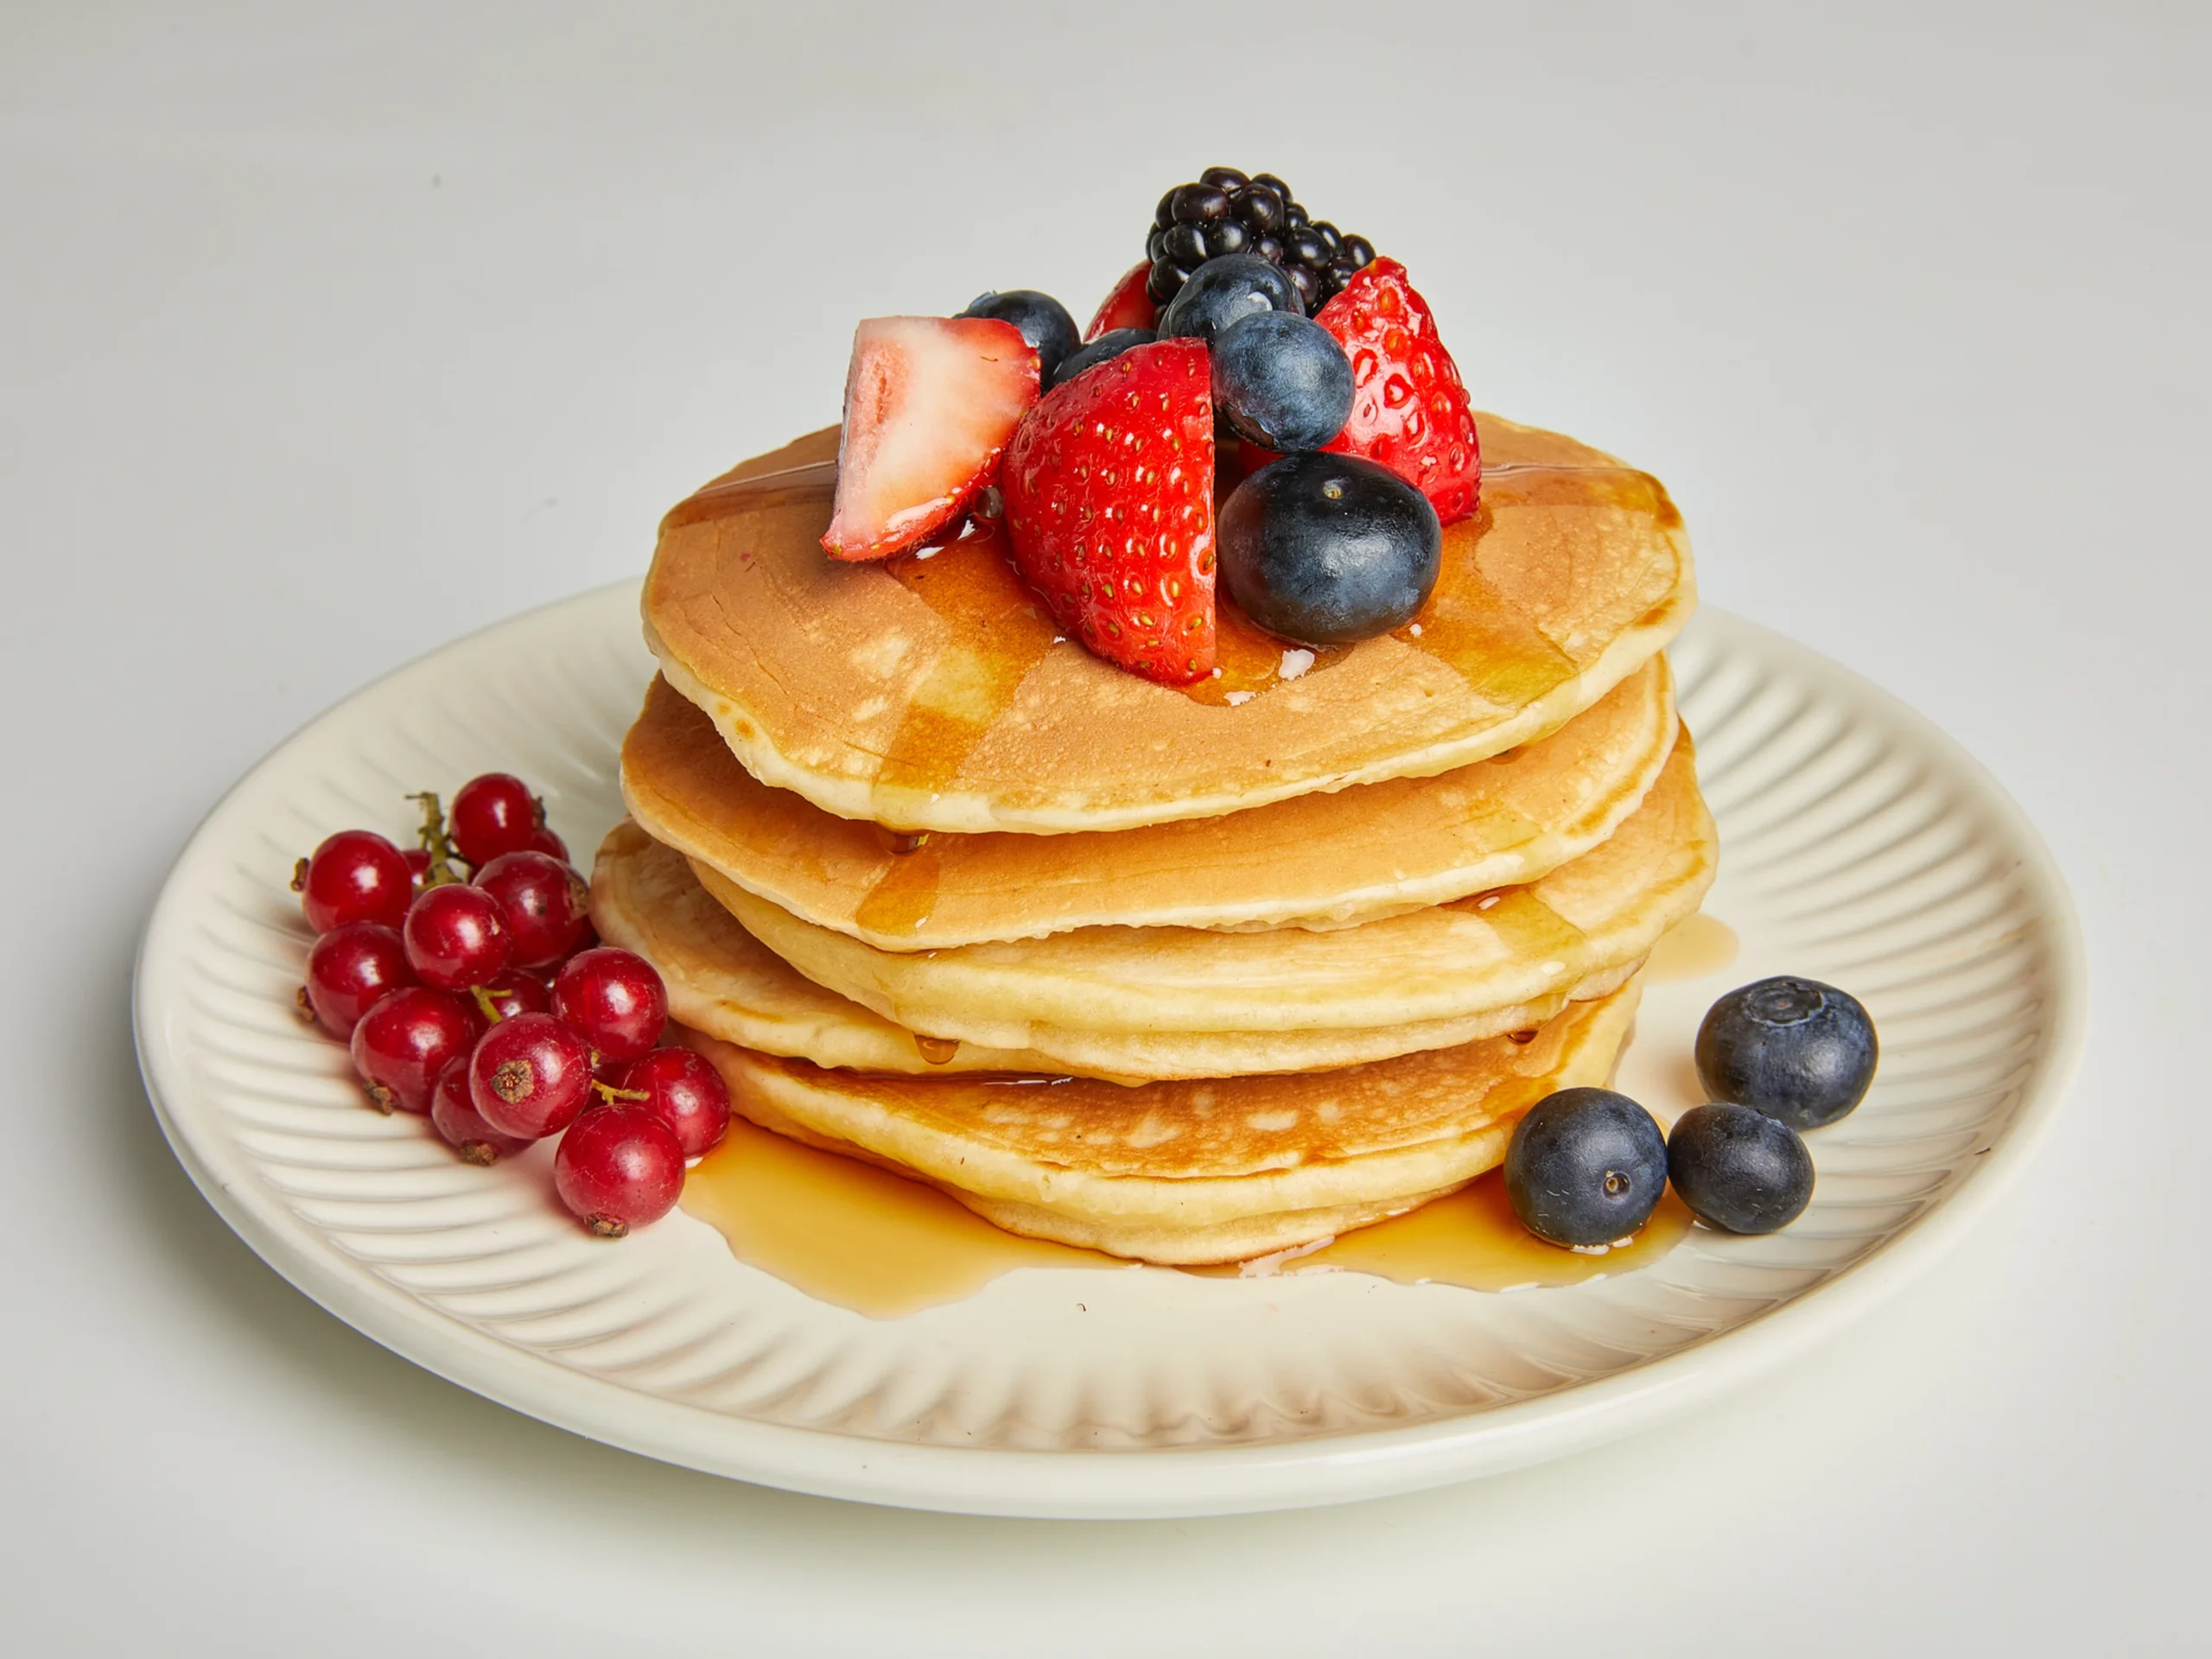
Fluffy Buttermilk Pancakes
Tall, fluffy buttermilk pancakes with a tender crumb and golden exterior. Ready in 25 minutes with simple pantry ingredients.
Why You’ll Love These Fluffy Buttermilk Pancakes
These pancakes strike the perfect balance between structure and tenderness. Here’s why they work:
- Tall, fluffy stack every time — the combination of buttermilk and baking soda creates carbon dioxide bubbles that lift the batter into thick, cloud-like pancakes.
- No resting time required — mix and cook immediately; the acid in buttermilk reacts with leavening the moment they combine.
- Forgiving for beginners — unlike crepes or soufflés, this batter tolerates a few lumps and still delivers excellent results.
- Pantry-friendly — no specialty ingredients; if you have flour, eggs, and buttermilk, you’re set.
- Freezer-friendly — make a double batch and freeze half; reheat in the toaster for instant weekday breakfasts.
Ingredients
The hero ingredient here is full-fat buttermilk. Look for the tub or carton labeled “cultured buttermilk” — it should be thick and tangy, not thin like regular milk. If you can only find low-fat, add 1 teaspoon of white vinegar to each cup to mimic the acidity and viscosity.
- 2 cups (250g) all-purpose flour — spooned and leveled, not scooped
- 2 tablespoons granulated sugar — feeds the browning reaction
- 2 teaspoons baking powder — ensure it’s less than 6 months old for full potency
- 1 teaspoon baking soda — the key to the fluff; reacts with buttermilk’s acid
- ½ teaspoon fine sea salt — enhances the dairy notes
- 2 cups (480ml) buttermilk, room temperature — cold is fine, but room temp mixes smoother
- 2 large eggs, room temperature — cold eggs can seize when hitting the batter
- ¼ cup (56g) unsalted butter, melted and slightly cooled — too hot and it’ll cook the eggs
- 1 teaspoon vanilla extract — use real extract, not imitation
- Butter or neutral oil for the pan — about 1 tablespoon per batch
A note on the leavening
Using both baking powder and baking soda isn’t redundant here. The baking powder provides the initial lift when the batter hits the hot pan. The baking soda reacts with the buttermilk’s lactic acid to create additional bubbles and also neutralizes some of the acid, giving you that classic buttermilk pancake flavor without excessive tang.
Equipment You’ll Need
- 12-inch nonstick skillet or griddle — a flat cooking surface gives you even browning; avoid cast iron for pancakes unless it’s very well seasoned, as the heat retention can scorch the bottoms before the centers set.
- Wire whisk — for lump-free mixing; a fork works in a pinch but takes longer.
- Dry measuring cups and spoons — accuracy matters for the leavening agents.
- Large mixing bowl — 3-quart minimum to prevent overflow when whisking.
- Wide spatula — look for a thin, flexible edge that slides under the pancake without deflating it.
- Ladle or ¼-cup measuring cup — for portioning identical pancakes.
How to Make Fluffy Buttermilk Pancakes
Step 1 — Mix the dry ingredients (2 minutes)
In a large bowl, whisk together the flour, sugar, baking powder, baking soda, and salt. Break up any clumps with your fingers or the back of a spoon — lumps in the dry ingredients won’t whisk out later and will show up as white spots in your cooked pancakes. Set the bowl aside while you prepare the wet ingredients.
Step 2 — Whisk the wet ingredients (3 minutes)
In a separate medium bowl, beat the eggs lightly with a fork. Add the buttermilk, melted butter, and vanilla extract. Whisk until the mixture is uniform — the butter should be fully incorporated, not floating in a yellow layer on top. If the butter solidifies on contact (because your buttermilk was too cold), microwave the mixture for 10 seconds and whisk again.
Failure mode: If the batter looks curdled after mixing, your buttermilk was too acidic or too cold. Let it sit for 2 minutes; the proteins will relax and the mixture will smooth out.
Step 3 — Combine wet and dry (1 minute)
Pour the wet ingredients into the dry ingredients. Using a folding motion with your whisk (not vigorous stirring), mix just until the flour disappears. The batter should look lumpy — this is correct. Overmixing develops gluten, which makes pancakes tough and flat instead of fluffy. Stop the moment you can’t see dry flour streaks.
Failure mode: If you’ve already overmixed and the batter looks smooth, let it rest for 10 minutes. The gluten will relax somewhat, and the baking soda will start working, giving you a partial recovery.
Step 4 — Heat the pan (3 minutes)
Place your skillet or griddle over medium-low heat (about 325°F if you have an infrared thermometer). Add ½ tablespoon of butter or oil and swirl to coat the surface. The pan is ready when a drop of water sizzles and evaporates within 2 seconds — not instantly (too hot) and not sitting there dancing (too cold).
Step 5 — Cook the pancakes (12-15 minutes total)
Ladle ¼ cup of batter per pancake onto the hot surface, leaving 2 inches between each. Let them cook undisturbed for 2-3 minutes. You’ll know they’re ready to flip when:
- Bubbles form on the surface and pop, leaving small craters
- The edges look set and matte (not wet and shiny)
- The underside is golden brown when you lift a corner with your spatula
Flip with confidence — a quick, decisive motion prevents deflating the pancake. Cook the second side for 1-2 minutes until golden. Transfer to a warm plate and repeat with remaining batter, adding more butter/oil to the pan as needed.
Failure mode: If the first side is browning too fast while the center stays raw, your heat is too high. Lower to medium-low and wait 1 minute before cooking the next pancake. If they’re pale and taking longer than 3 minutes per side, increase the heat slightly.
Step 6 — Keep warm and serve (optional)
If you’re cooking for a crowd, keep finished pancakes warm in a 200°F oven on a wire rack set over a baking sheet. This prevents steam from making them soggy while you finish the batch.
Pro Tips for Best Results
Don’t overmix the batter. Lumps are your friend — they indicate the gluten hasn’t been overdeveloped. A few streaks of flour are fine; a perfectly smooth batter means tough pancakes.
Use room temperature ingredients. Cold eggs and buttermilk don’t incorporate as evenly, leading to pockets of dense batter. Take them out 30 minutes before cooking, or warm the buttermilk in the microwave for 20 seconds.
Wait for the bubbles to pop. Flipping too early gives you dense, gummy centers. The surface should look almost like a crater field before you flip — that’s when the structure is set.
Medium-low is your friend. Pancakes are essentially a custard inside a crust. Too high heat burns the crust before the custard sets. Patience yields evenly cooked, fluffy results.
Buttermilk substitute that actually works. No buttermilk? Mix 2 cups of milk with 2 tablespoons of white vinegar or lemon juice. Let it sit for 5 minutes until it curdles slightly. It’s not identical, but it’s 90% there.
Variations & Substitutions
Whole wheat version
Replace half the all-purpose flour with whole wheat flour. The pancakes will be slightly denser and nuttier. Add an extra 2 tablespoons of buttermilk to compensate for the whole wheat’s higher absorption.
Dairy-free
Swap buttermilk for unsweetened almond milk mixed with 1 tablespoon of vinegar. Use melted coconut oil or vegetable oil instead of butter. The texture will be slightly less rich but still fluffy.
Blueberry pancakes
Gently fold 1 cup of fresh blueberries into the batter after mixing. If using frozen, don’t thaw them first — toss them in a tablespoon of flour first to prevent the color from bleeding into the batter.
Chocolate chip pancakes
Add ¾ cup of mini chocolate chips to the batter. Reduce the sugar to 1 tablespoon since the chips add sweetness. These are a hit with kids.
Protein-packed
Replace ½ cup of flour with vanilla protein powder. You’ll need an extra ¼ cup of buttermilk to maintain the right consistency. The pancakes will be slightly denser but much more filling.
Storage, Make-Ahead & Reheating
Refrigerator: Store leftover pancakes in an airtight container for up to 3 days. Place parchment paper between layers to prevent sticking. Reheat in a toaster on medium setting for best texture — the exterior re-crisps while the interior warms through.
Freezer: Freeze pancakes in a single layer on a baking sheet until solid (1 hour), then transfer to a freezer bag. They’ll keep for up to 2 months. Label with the date. No need to thaw — pop frozen pancakes directly into the toaster.
Reheating: Toaster is best for 1-2 pancakes. For a stack, wrap in foil and warm in a 350°F oven for 10 minutes. Avoid the microwave — it makes them rubbery and chewy.
Make-ahead batter: Don’t. The leavening starts working immediately and will be spent after 30 minutes. If you need to prep ahead, mix the dry ingredients in one bowl and the wet in another, then combine just before cooking.
What to Serve With Fluffy Buttermilk Pancakes
A tall stack of these pancakes pairs beautifully with both sweet and savory sides. For a classic diner experience, serve alongside our crispy oven bacon — the salt and crunch cut through the rich, tender pancakes. For something lighter, our lemon arugula salad provides a peppery, acidic contrast that balances the meal. If you’re feeding a crowd, add our breakfast potato hash for a hearty, stick-to-your-ribs brunch spread.
Nutrition Information
Per pancake (makes about 12 pancakes, serving size 2 pancakes): approximately 220 calories, 7g protein, 30g carbohydrates, 8g fat, 1g fiber, 8g sugar. Values are estimates based on USDA data and will vary with specific brands and portion sizes. The protein comes mainly from the eggs and buttermilk; add a side of Greek yogurt to boost the protein content of your breakfast.
Frequently Asked Questions
Can I make the batter ahead of time?
No — the baking soda starts reacting with the buttermilk the moment they combine, so the batter is at its fluffiest right after mixing. If you need to prep ahead, measure and mix the dry ingredients and wet ingredients separately, then combine them just before cooking. The dry mix can be made 3 days ahead and stored in an airtight container.
Why are my pancakes flat?
The most common causes are: (1) expired baking powder or baking soda — test them by adding a pinch to hot water (baking powder should fizz immediately) or vinegar (baking soda should bubble vigorously); (2) overmixing the batter, which develops gluten and deflates the bubbles; (3) heat too high, causing the bubbles to pop before the structure sets. Check your leavening agents and mix gently.
Can I use regular milk instead of buttermilk?
You can, but the pancakes won’t be as fluffy or flavorful. Buttermilk’s acidity is what activates the baking soda to create that signature lift. If you must use regular milk, add 1 tablespoon of white vinegar or lemon juice per cup of milk and let it sit for 5 minutes to mimic buttermilk’s pH level.
How do I keep pancakes warm for a crowd?
Preheat your oven to 200°F. Place a wire rack over a baking sheet and arrange cooked pancakes in a single layer on the rack. The wire rack prevents steam from getting trapped underneath, which would make the bottoms soggy. They’ll hold well for up to 30 minutes this way.
Can I double this recipe?
Yes — this recipe scales perfectly. Just ensure your mixing bowl is large enough (at least 5 quarts for a double batch) and that your cooking surface can accommodate multiple pancakes at once. You may need to cook in more batches, which means keeping the finished pancakes warm in the oven as described above.
Why is my first pancake always bad?
The first pancake is essentially a test run — it tells you if your heat is right. The pan isn’t evenly heated yet, and the surface hasn’t developed a consistent nonstick layer from the butter. Consider the first pancake a “chef’s snack” and adjust the heat before cooking the rest. After 20+ batches, you’ll intuitively know when the pan is ready.
Final Thoughts
These fluffy buttermilk pancakes are proof that simple ingredients, when combined with the right technique, create something extraordinary. The tang of buttermilk, the lift from dual leavening, and the richness of melted butter come together in a stack that’s hard to beat. Next time, try adding a pinch of cinnamon or cardamom to the dry ingredients for a subtle warmth that complements the buttermilk beautifully. Save this recipe — it’s the one you’ll reach for every weekend.