Gut-Friendly Kimchi Fried Rice: Probiotic Power Bowl
Gut-Friendly Kimchi Fried Rice 🍚: Probiotic Power Bowl Quick kimchi fried rice loaded with probiotics and flavor. Ready in 20…
Gut-Friendly Kimchi Fried Rice 🍚: Probiotic Power Bowl
Quick kimchi fried rice loaded with probiotics and flavor. Ready in 20 minutes, it’s a gut-healthy, satisfying meal that never gets boring.
Quick Overview
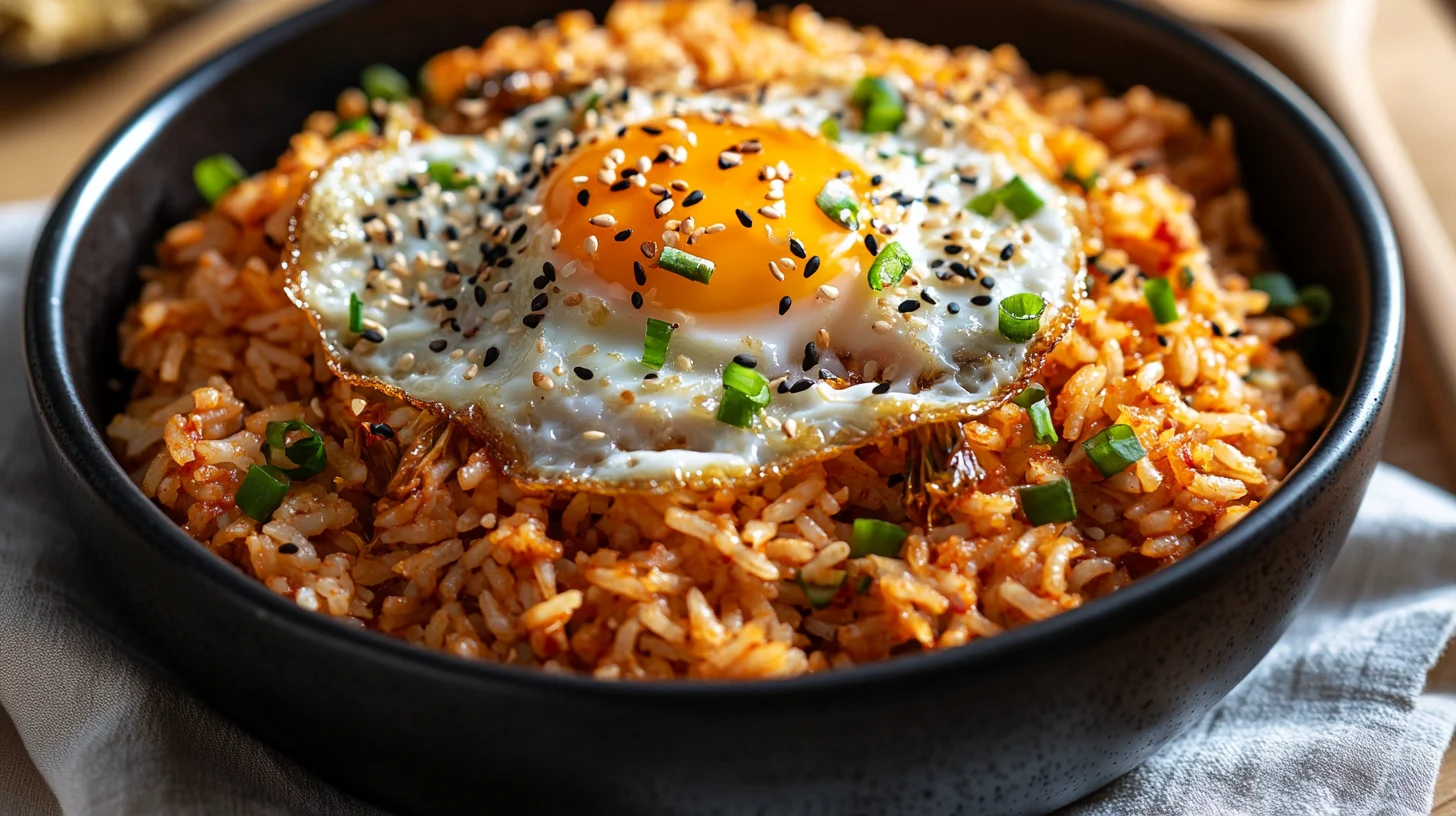
Kimchi fried rice (kimchi bokkeumbap) is a Korean staple that uses leftover rice, kimchi, and a few pantry staples. The fermentation from kimchi adds beneficial probiotics, while the cooking process mellows the spice and melds flavors. This version includes an egg for extra protein. It’s a top 2026 trend as “probiotic meals” and “fermented foods” surged on Pinterest.
Image: A sizzling plate of kimchi fried rice with a sunny-side-up egg on top, chopped scallions
https://homereciprs.com/images/kimchi-fried-rice-bowl.webp
What Is Gut-Friendly Kimchi Fried Rice?
A fried rice dish where kimchi (fermented spicy cabbage) provides both tang and probiotics. The rice is stir-fried with kimchi, oil, seasonings, and often topped with a fried egg. Using leftover, day-old rice ensures the best texture. It’s considered “gut-friendly” because kimchi contains live cultures that support digestion.
Ingredients You’ll Need
– 3 cups cooked and cooled rice (day-old is best)
– 1 cup well-fermented kimchi, chopped (plus 2 tbsp kimchi juice)
– 2 tbsp gochujang (optional, for extra heat)
– 2 tbsp soy sauce or tamari
– 1 tbsp sesame oil
– 2 tbsp neutral oil (for cooking)
– 3 green onions, chopped
– 2 cloves garlic, minced
– 2 large eggs
– Toppings: fried egg, sesame seeds, nori flakes
Image: Bowl of cold rice, kimchi jar, gochujang, soy sauce, sesame oil, green onions, garlic on counter
https://homereciprs.com/images/kimchi-fried-rice-ingredients.webp
Step-by-Step Instructions
1. Prep: Ensure rice is cold and broken into clumps (use fingers).
2. Stir-fry: Heat neutral oil in a large wok or skillet over medium-high. Add garlic and green onions (save some for garnish); cook 30 seconds. Add chopped kimchi; stir-fry 2 minutes.
3. Add rice: Add cold rice to the skillet. Break up clumps and stir to combine with kimchi. Cook 3–4 minutes, stirring occasionally, until rice is heated through and slightly toasted.
4. Season: Stir in soy sauce, sesame oil, and kimchi juice. Mix thoroughly.
5. Fry eggs: In a separate nonstick pan, fry eggs sunny-side-up or over-easy until whites set but yolks remain runny.
6. Serve: Divide rice into bowls. Top each with a fried egg, remaining green onions, sesame seeds, and nori.
Total time: 20 minutes. Serves: 2–3.
Image: Stir-frying rice mixture, placing fried egg on top, final bowl garnished
https://homereciprs.com/images/kimchi-fried-rice-cooking.webp
Tips & Variations
– Use day-old rice; fresh rice is too moist and will steam instead of fry.
– Gochujang adds depth but is optional; adjust to spice preference.
– Add protein: diced spam, shrimp, or tofu.
– For vegan version, skip egg or use scrambled tofu on top.
– More veggies: add peas, carrots, or bell peppers with the kimchi.
Pair With
Serve with side kimchi and a bowl of hot miso soup.
Related Guides
More probiotic meals: Easy Kimchi Jjigae and Fermented Food Recipes for Beginners.
Author Bio
Min-Ji Park is a Korean-American recipe developer focused on accessible, flavorful home cooking. Author of *The Fermented Kitchen* and creator of the Seoul Home YouTube channel. Certified Nutrition Educator. Follow on LinkedIn: linkedin.com/in/minji-park-nutrition